Arena White Built-in Oval Bath - 1800 x 960mm


Arena White Built-in Oval Bath - 1800 x 960mm
-
 Confirm Stock Availability
 -
 Buy online, collect in store
 -
 90 days hassle free returns
Pay online or order by phone - from anywhere
Skip the queue & reserve your stock
Collect from 5 stores nationwide
Fast & easy
Order your products online

Orders are normally ready within 3 hours*
Any queries? Call us 00267 72605550
*Should the product not be available at the selected store, one of our product experts will contact you and offer you a reasonable alternative.
When ordering online, you have the luxury of returning your unused CTM products to any of our 5 CTM stores nationwide
We will gladly exchange or refund products provided that:
Return date is within 90 days of purchase
Valid proof of purchase from CTM
Goods must in original sellable condition & packaging
*Please ensure you are satisfied with the product before installing as no claims will be accepted after installation.

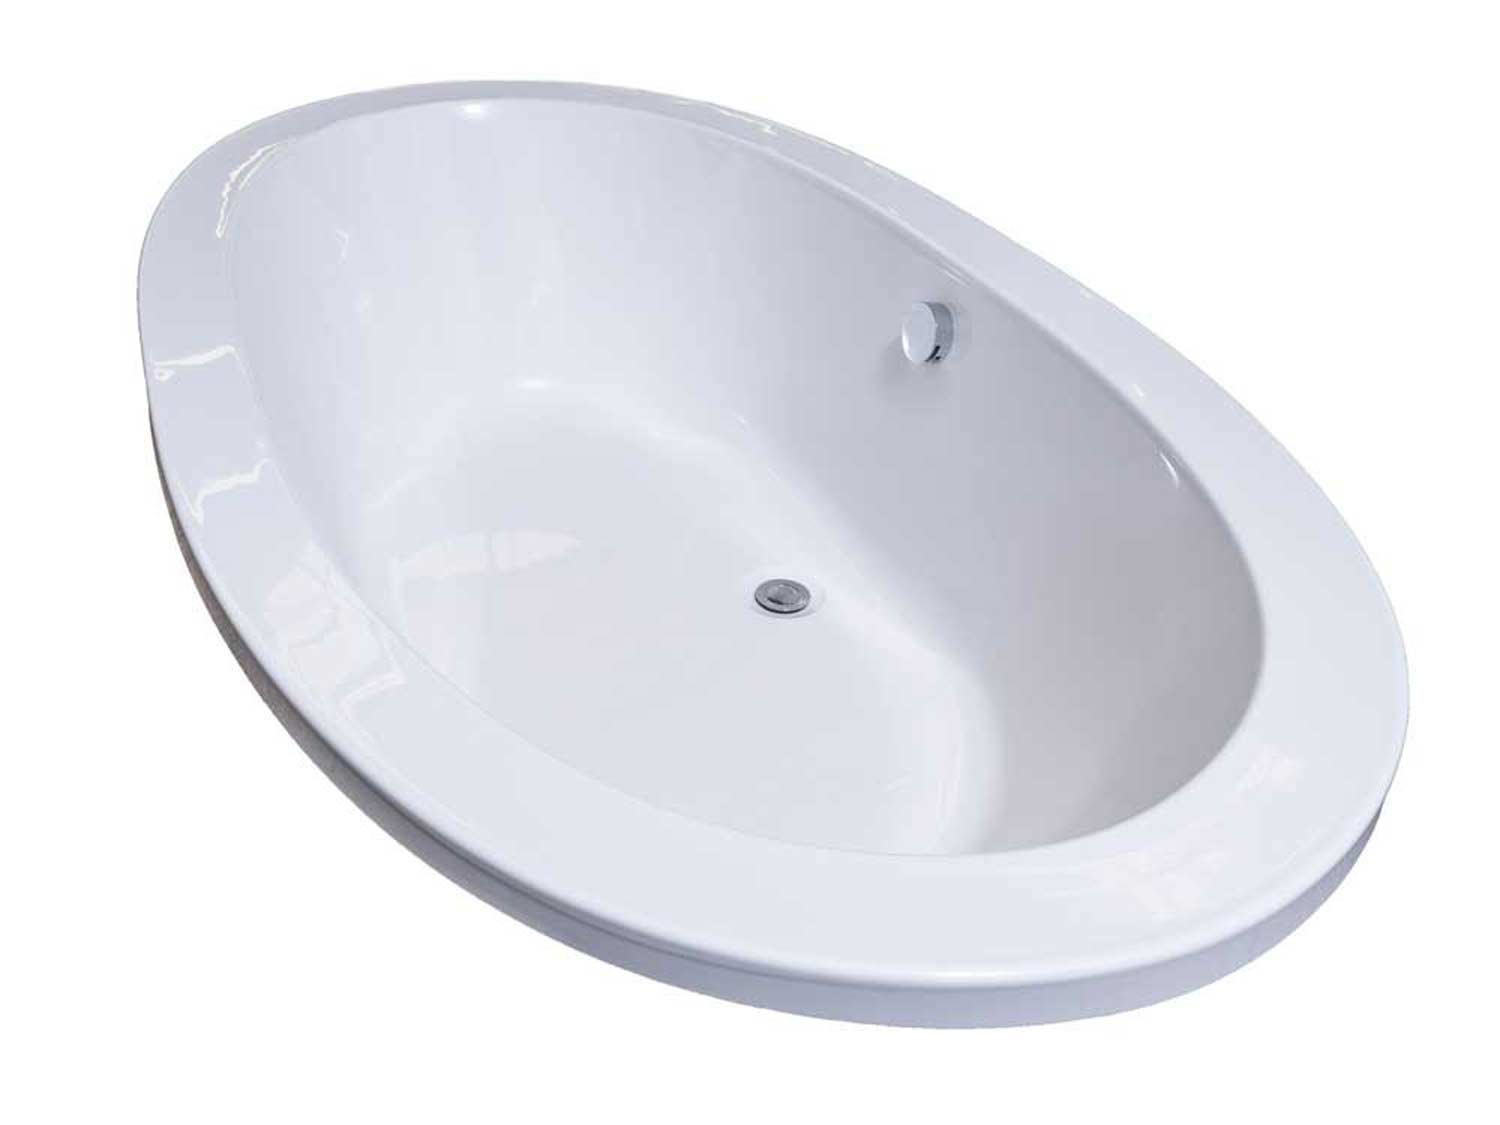
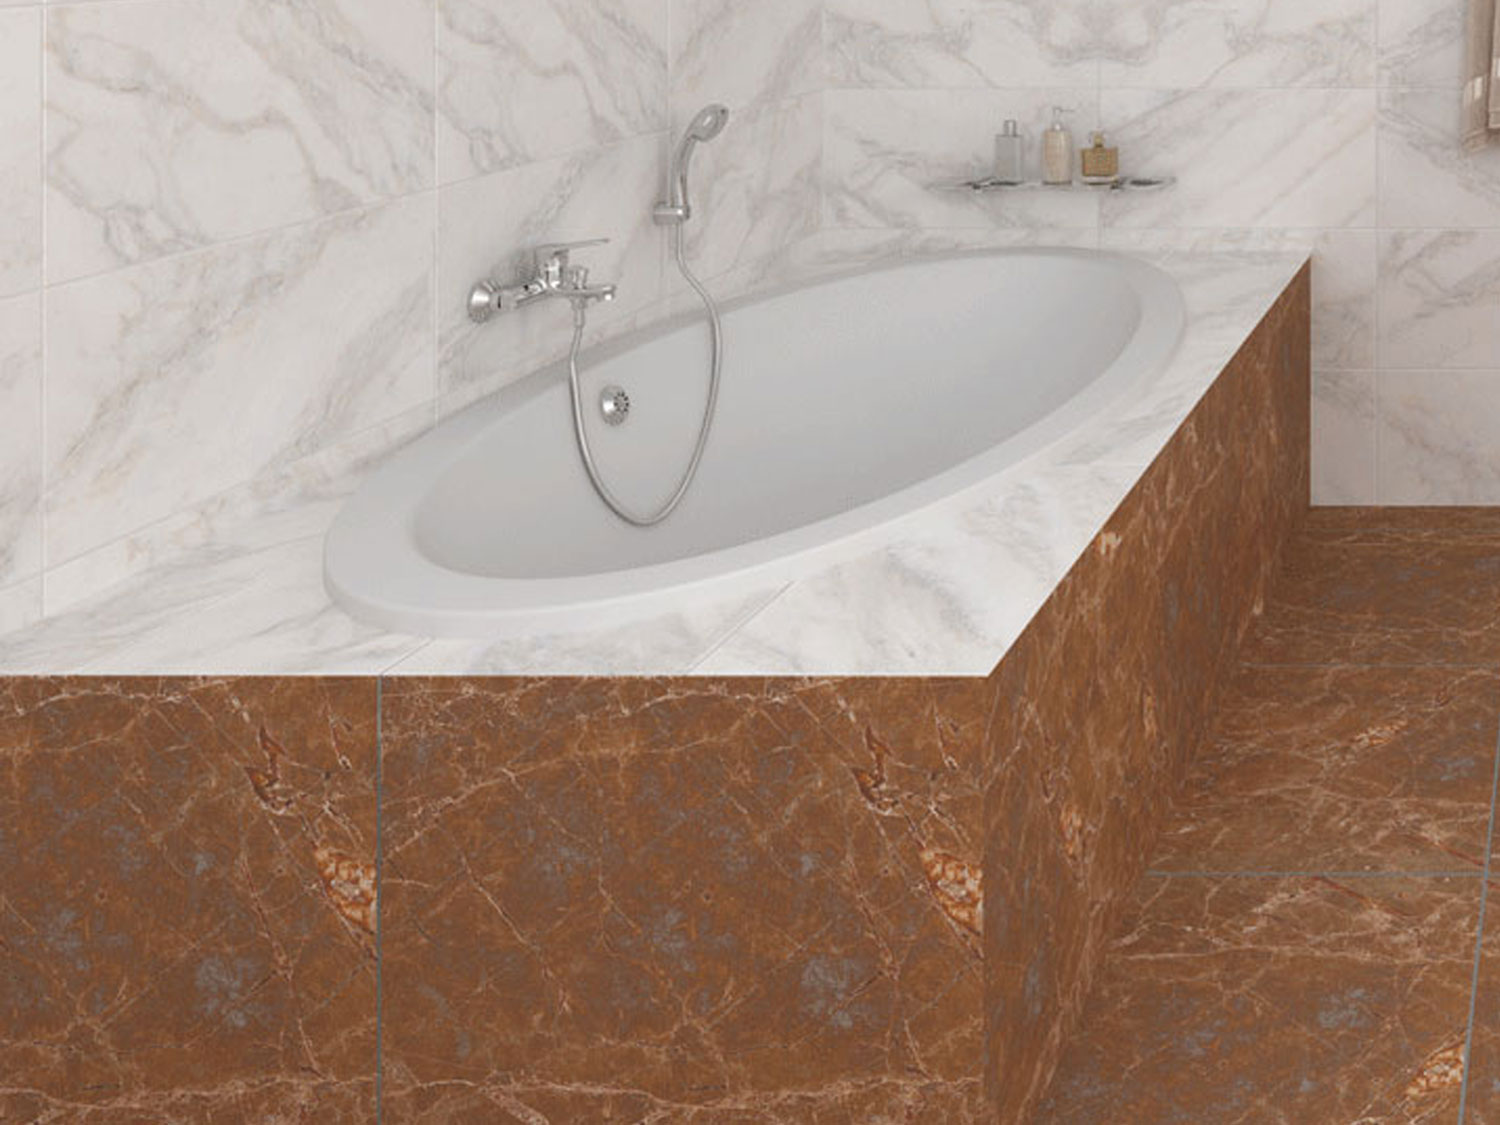
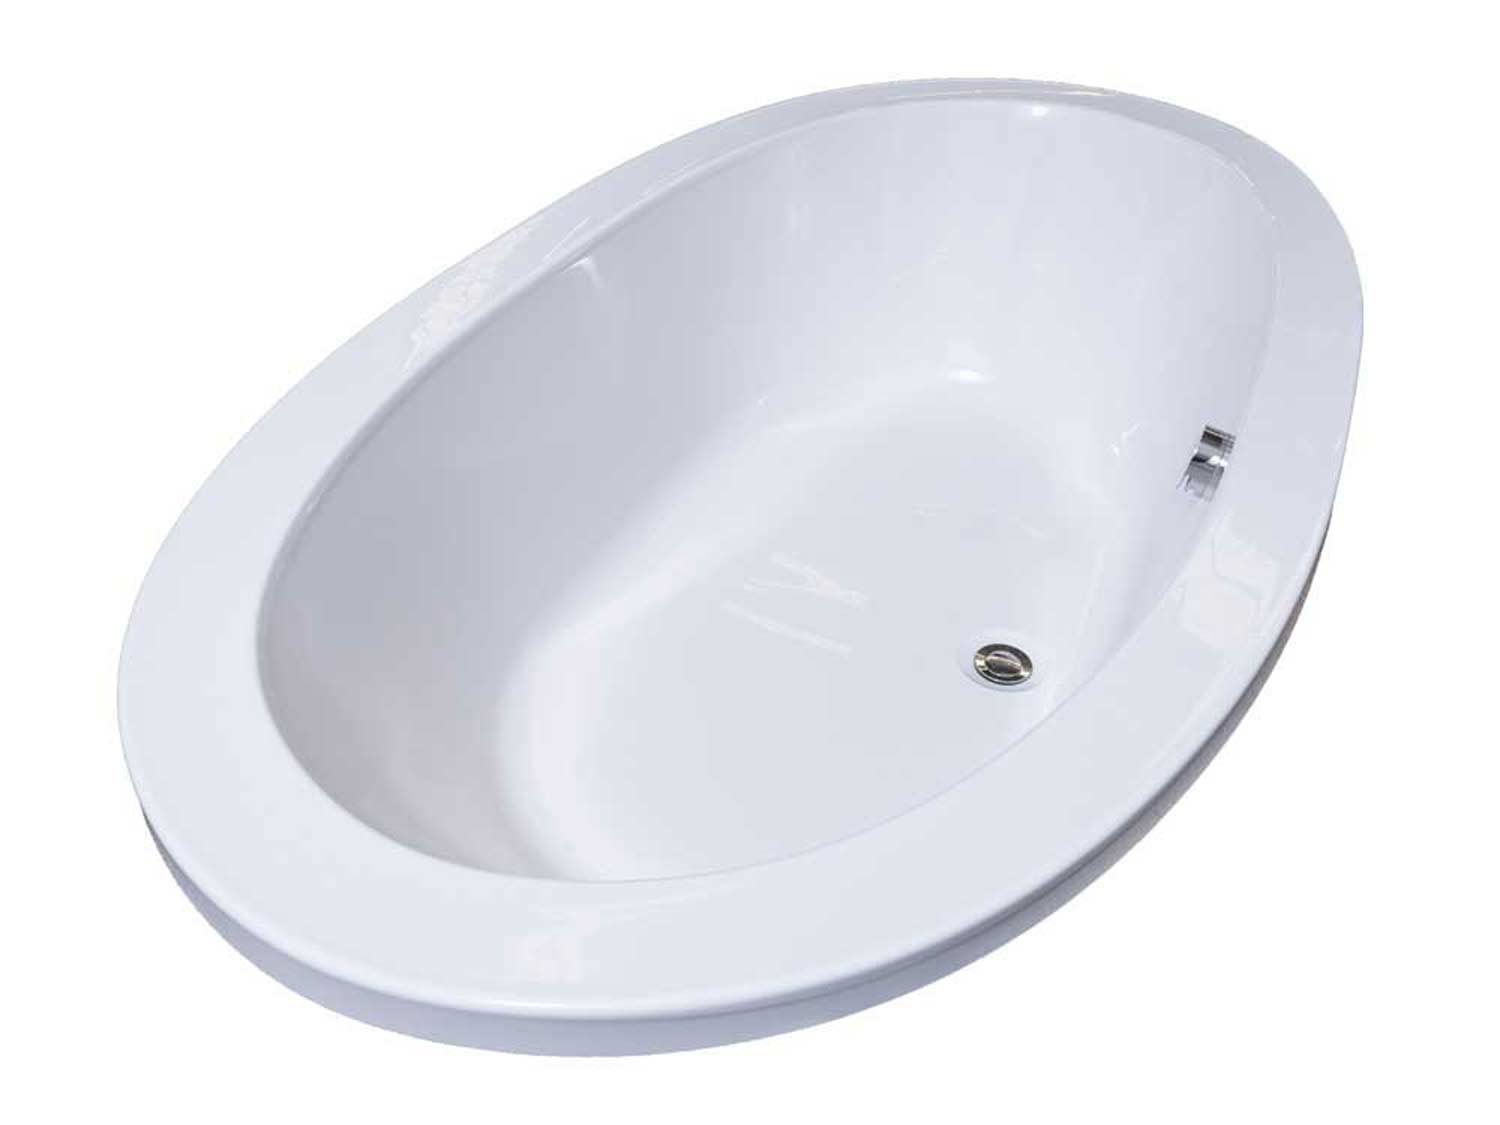
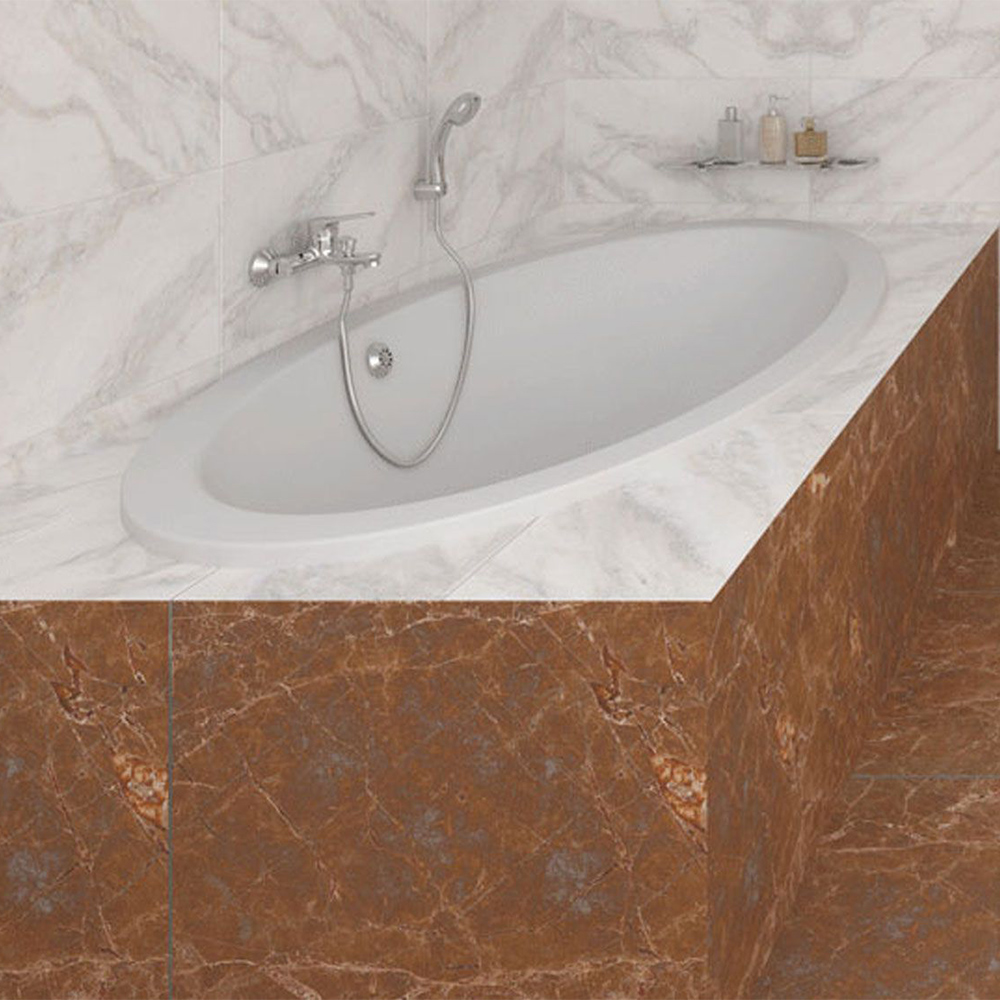
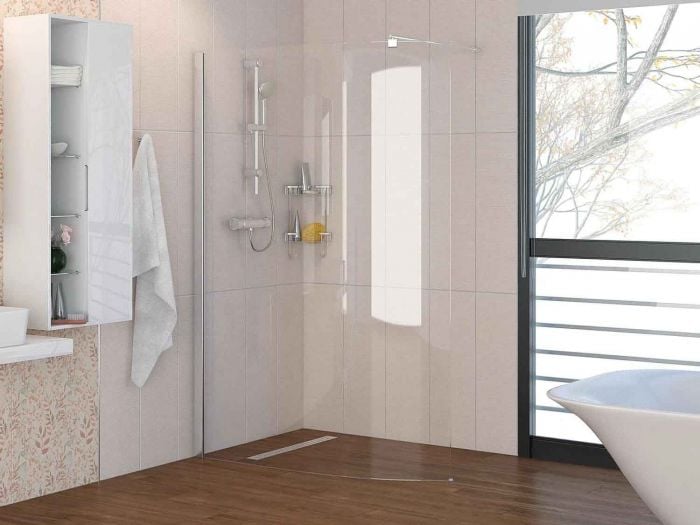
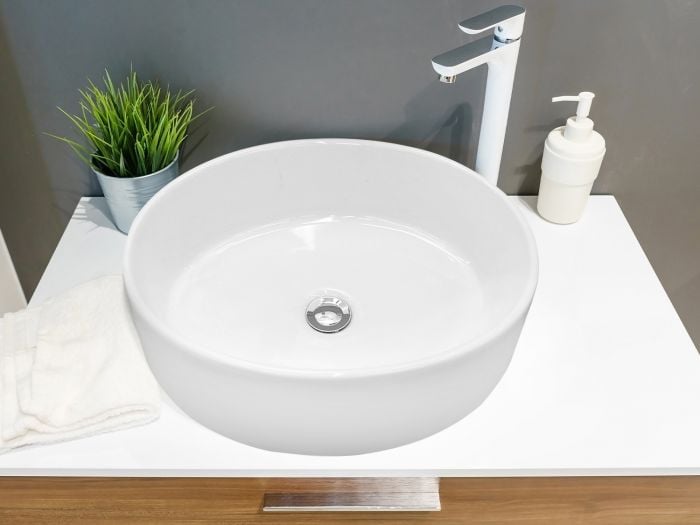
Proudly manufactured in South Africa, the Arena White Built-in Oval Bath has a high gloss surface, which will not stain, rust or corrode and due to its smooth finish, the bath is very easy to clean. The bath is manufactured from Perspex which is warm to the touch, meaning it is a good insulator of heat and will keep your water warmer for longer.
Perfect for:
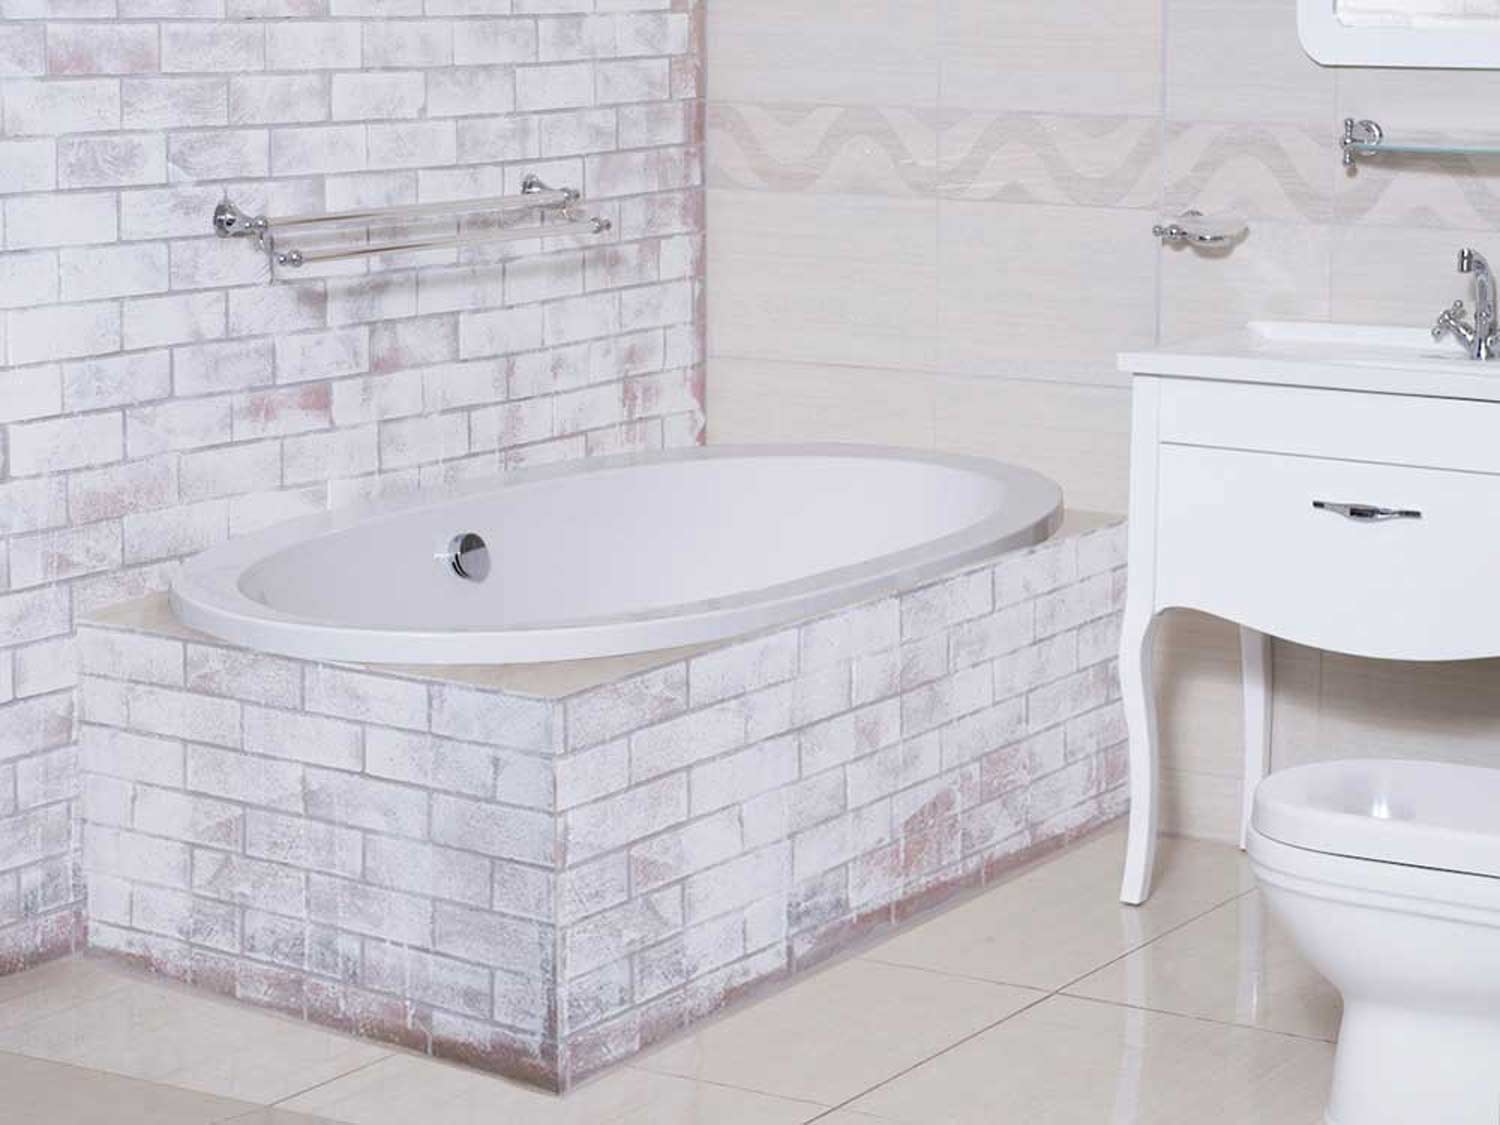
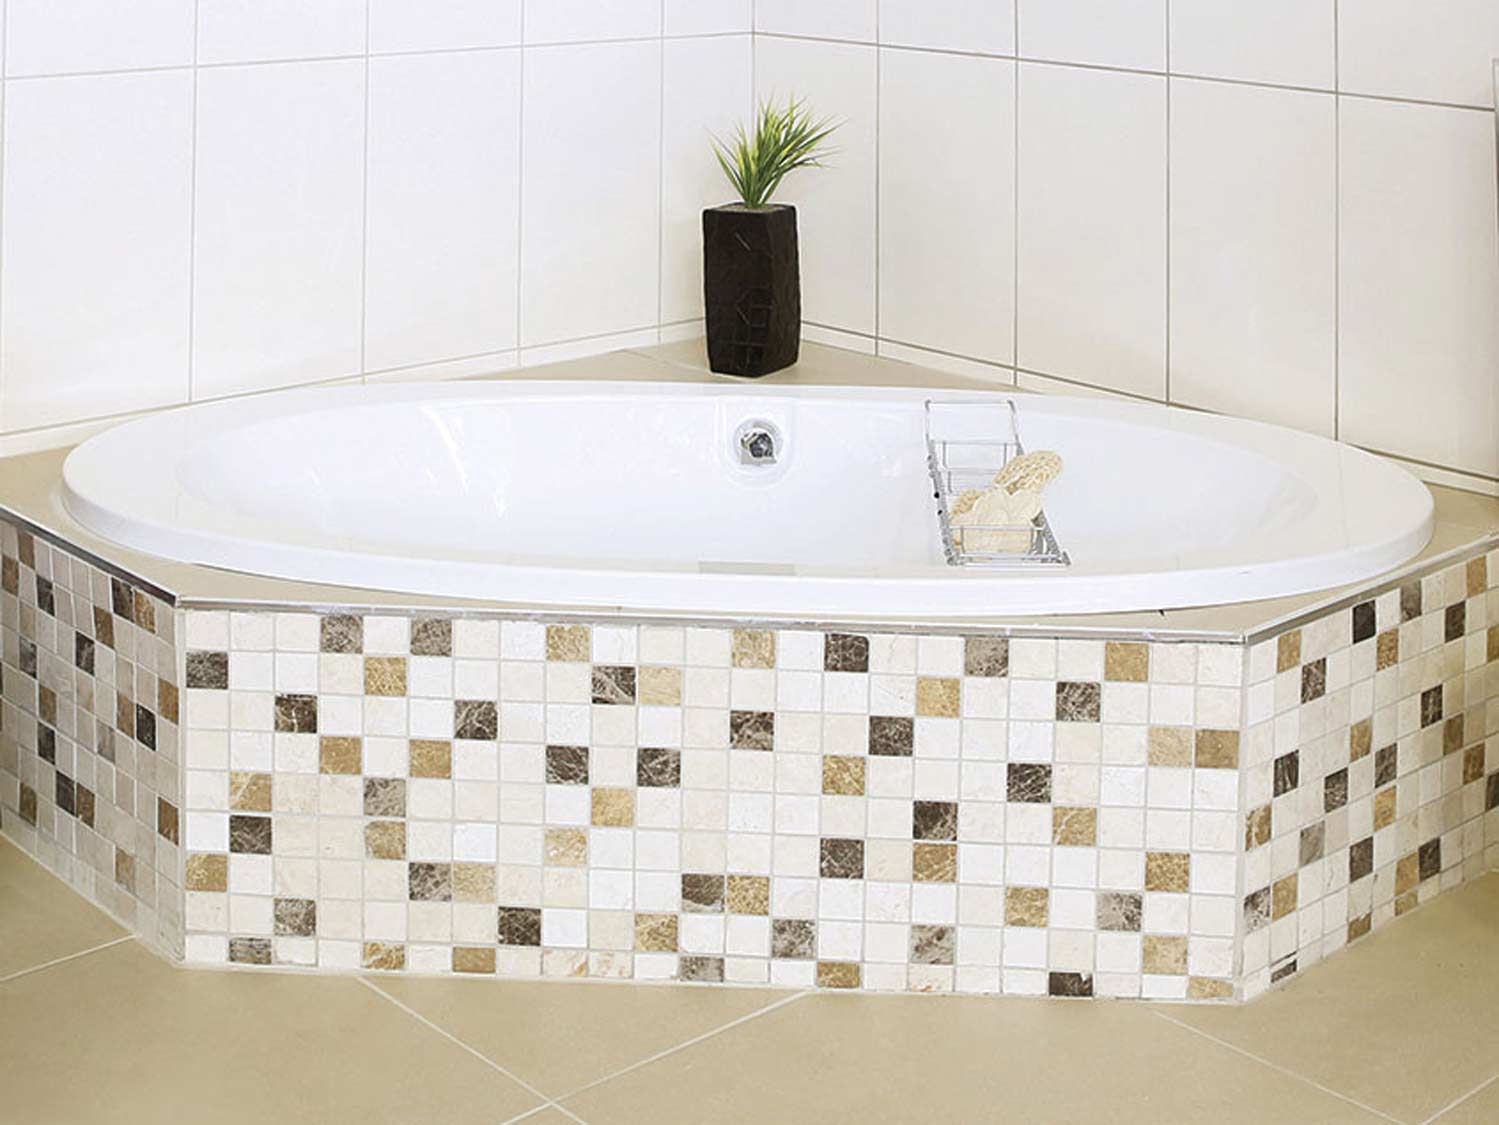
The Arena White Built-in Oval Bath is perfect for your contemporary style bathroom due to its unique and luxurious oval shape.
Features:
Product Specifications
| Brand | Betta |
|---|---|
| Colour | White |
| Type | Built-In Bath |
| Depth | 340 mm |
| Height (mm) | 410 mm |
| Length (mm) | 1800 mm |
| Width (mm) | 960 mm |
| Volume | 240 L |
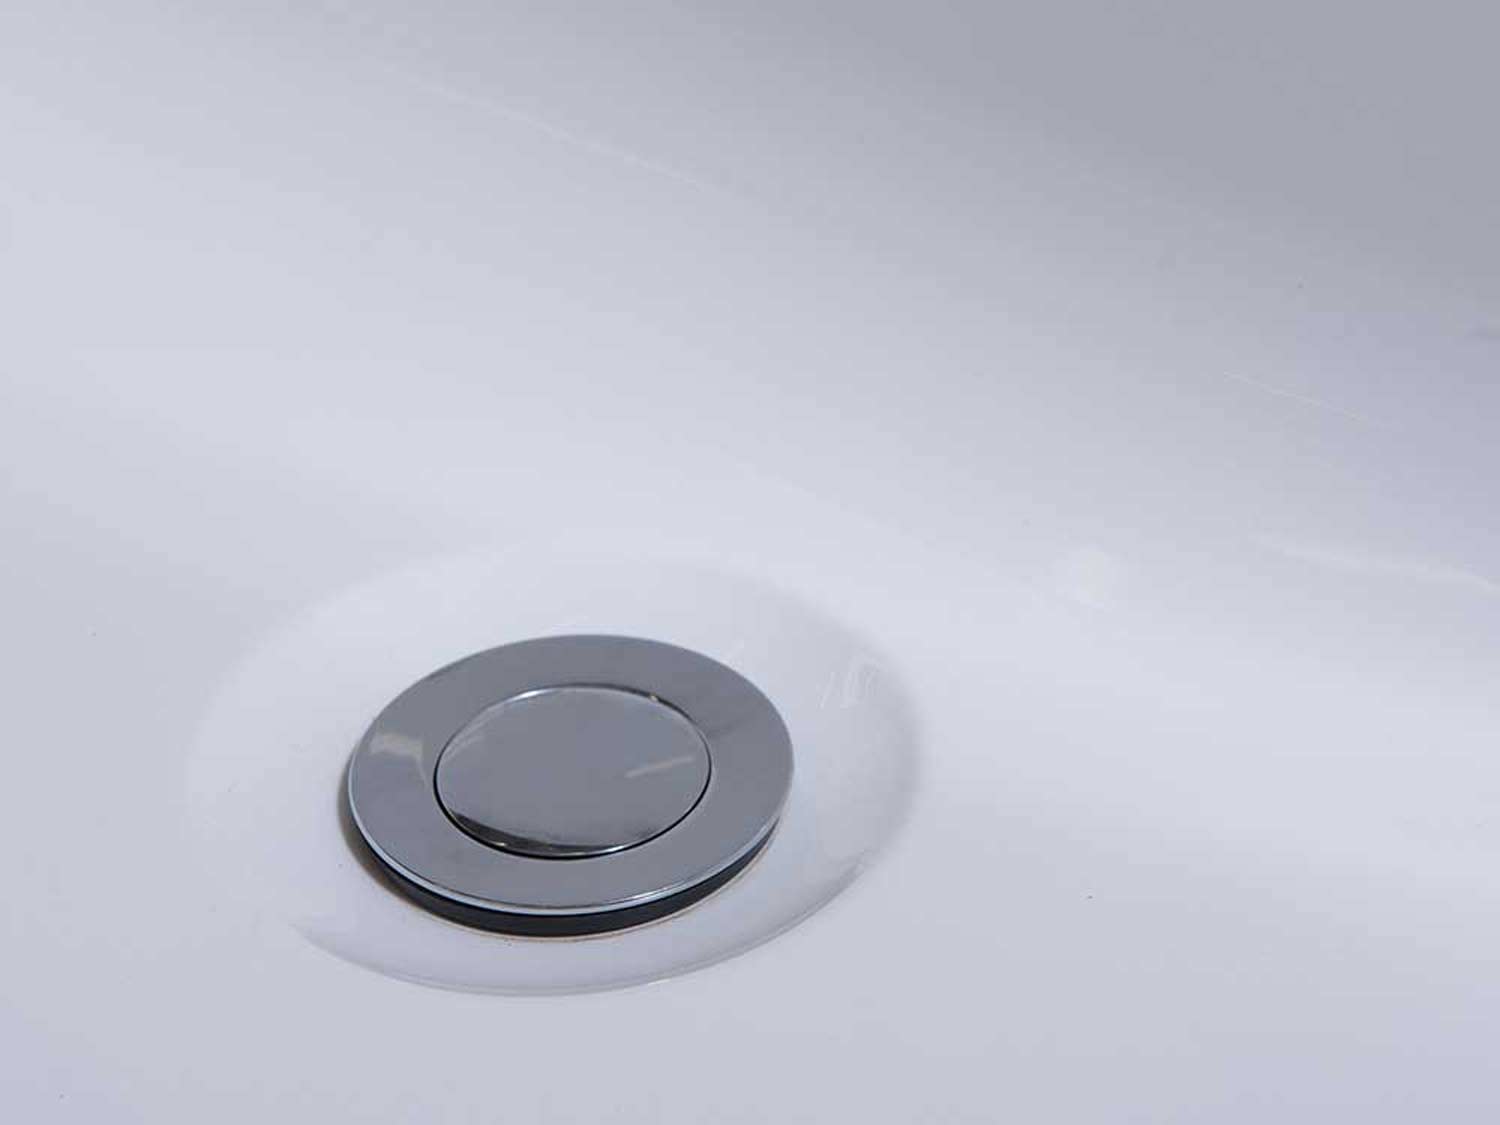
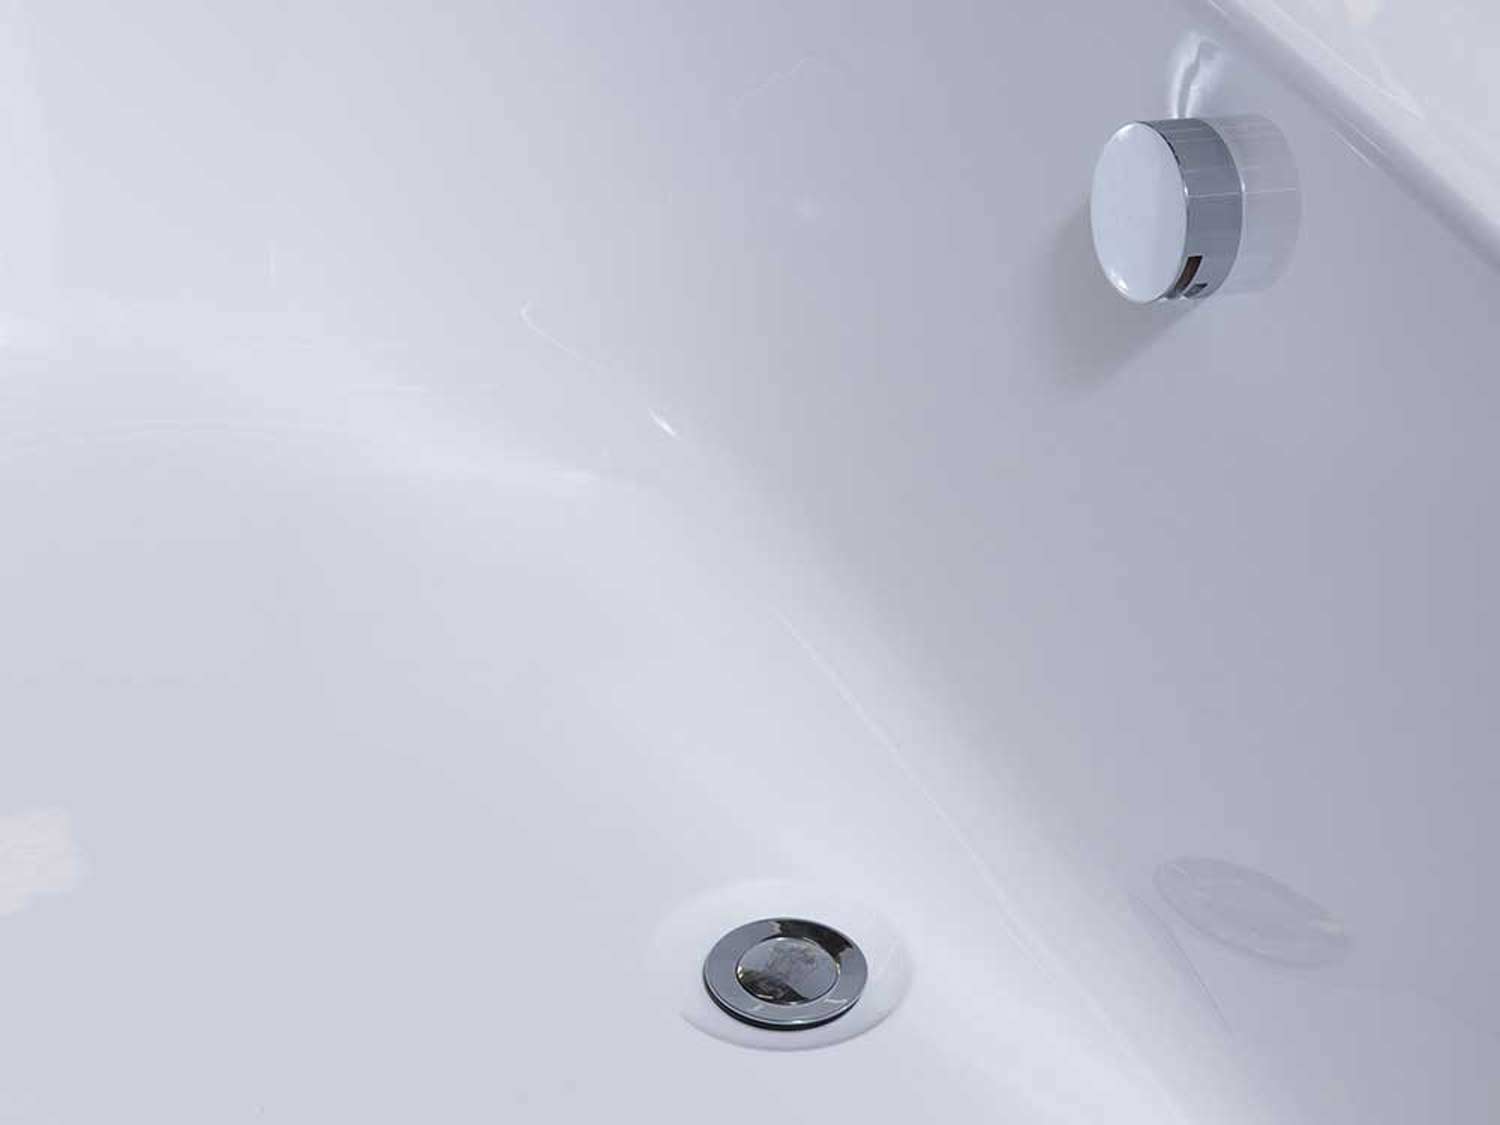
| Waste Size | 52 mm |
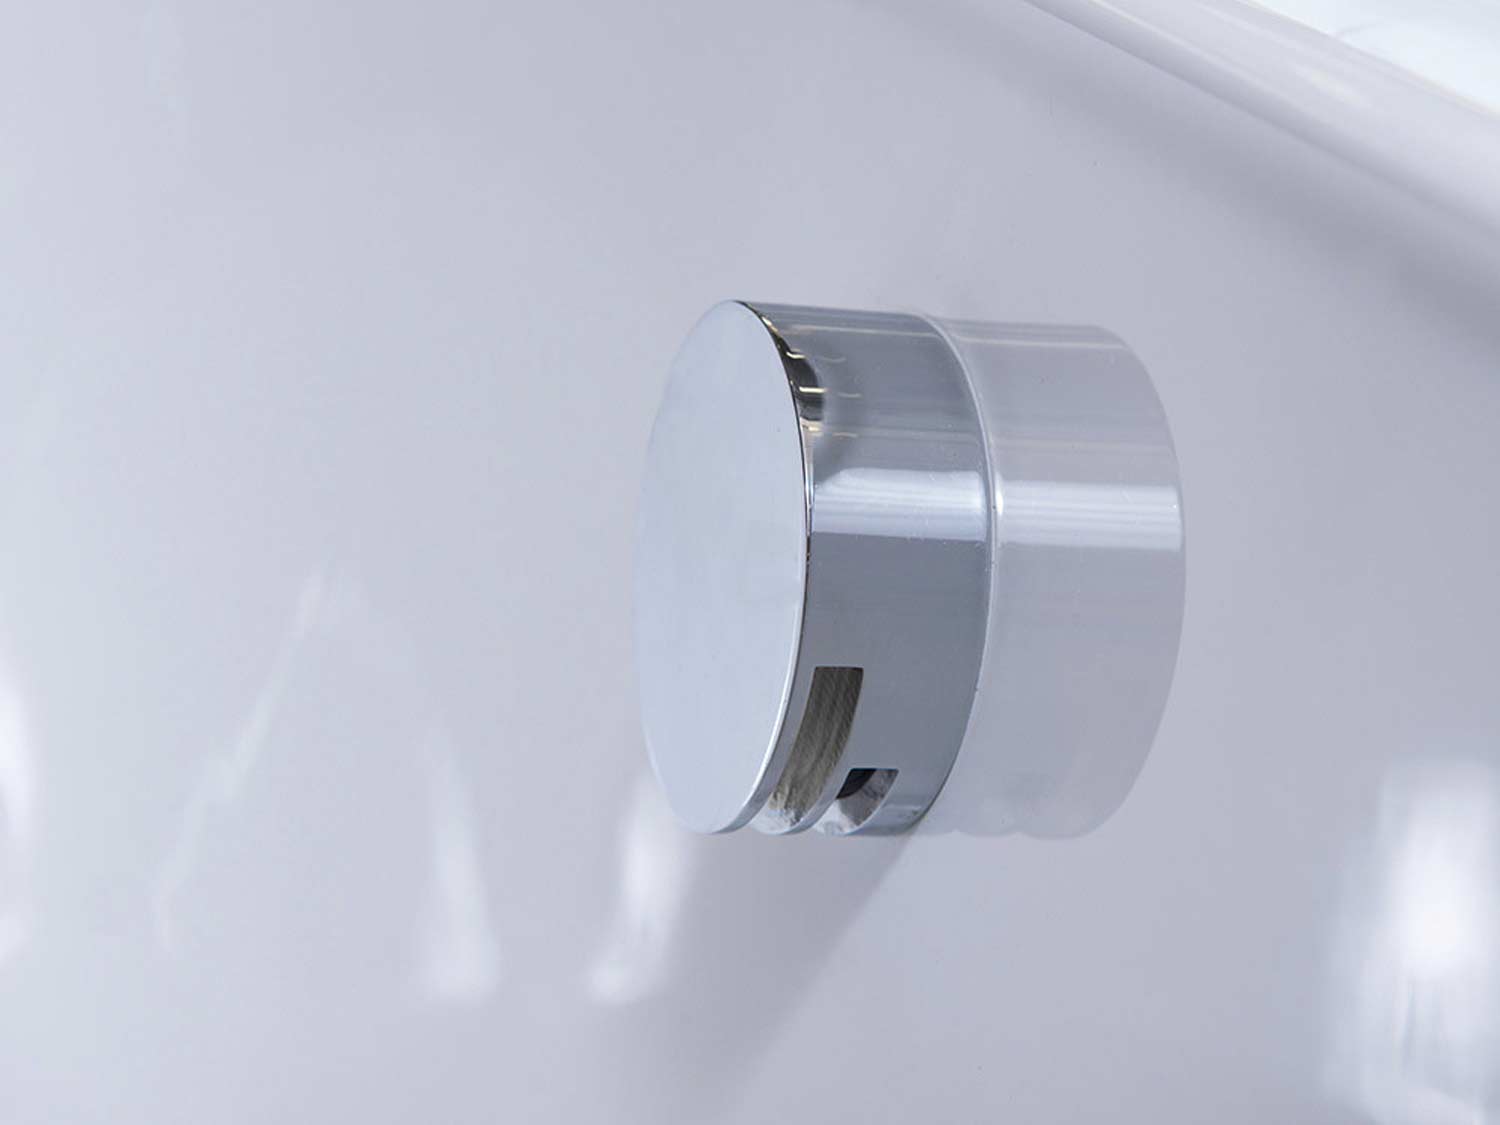
| Overflow Size | 40 mm |
| Product Weight | 17.9 kg |

Step 1.
- Decide how high you want the bath above the floor.
- Measure and mark up.
- It is recommended that it should be at least 450mm above the floor.
- Once you have marked the height, securely fasten support battens against the back and sidewall.
- Make sure they are level.

Step 2.
- Position the bath with the backside resting on the battens.
- Check that the bath is level by using your spirit level.

Step 3.
- Place three equally spaced rows of bricks, with ample mortar, under the reinforcing ribs of the bath.
- This will support the underside of the bath.
- Check that the first row is as close as possible to the waste fitting.
- Check that the openings and sides are now level with the ends of the battens.
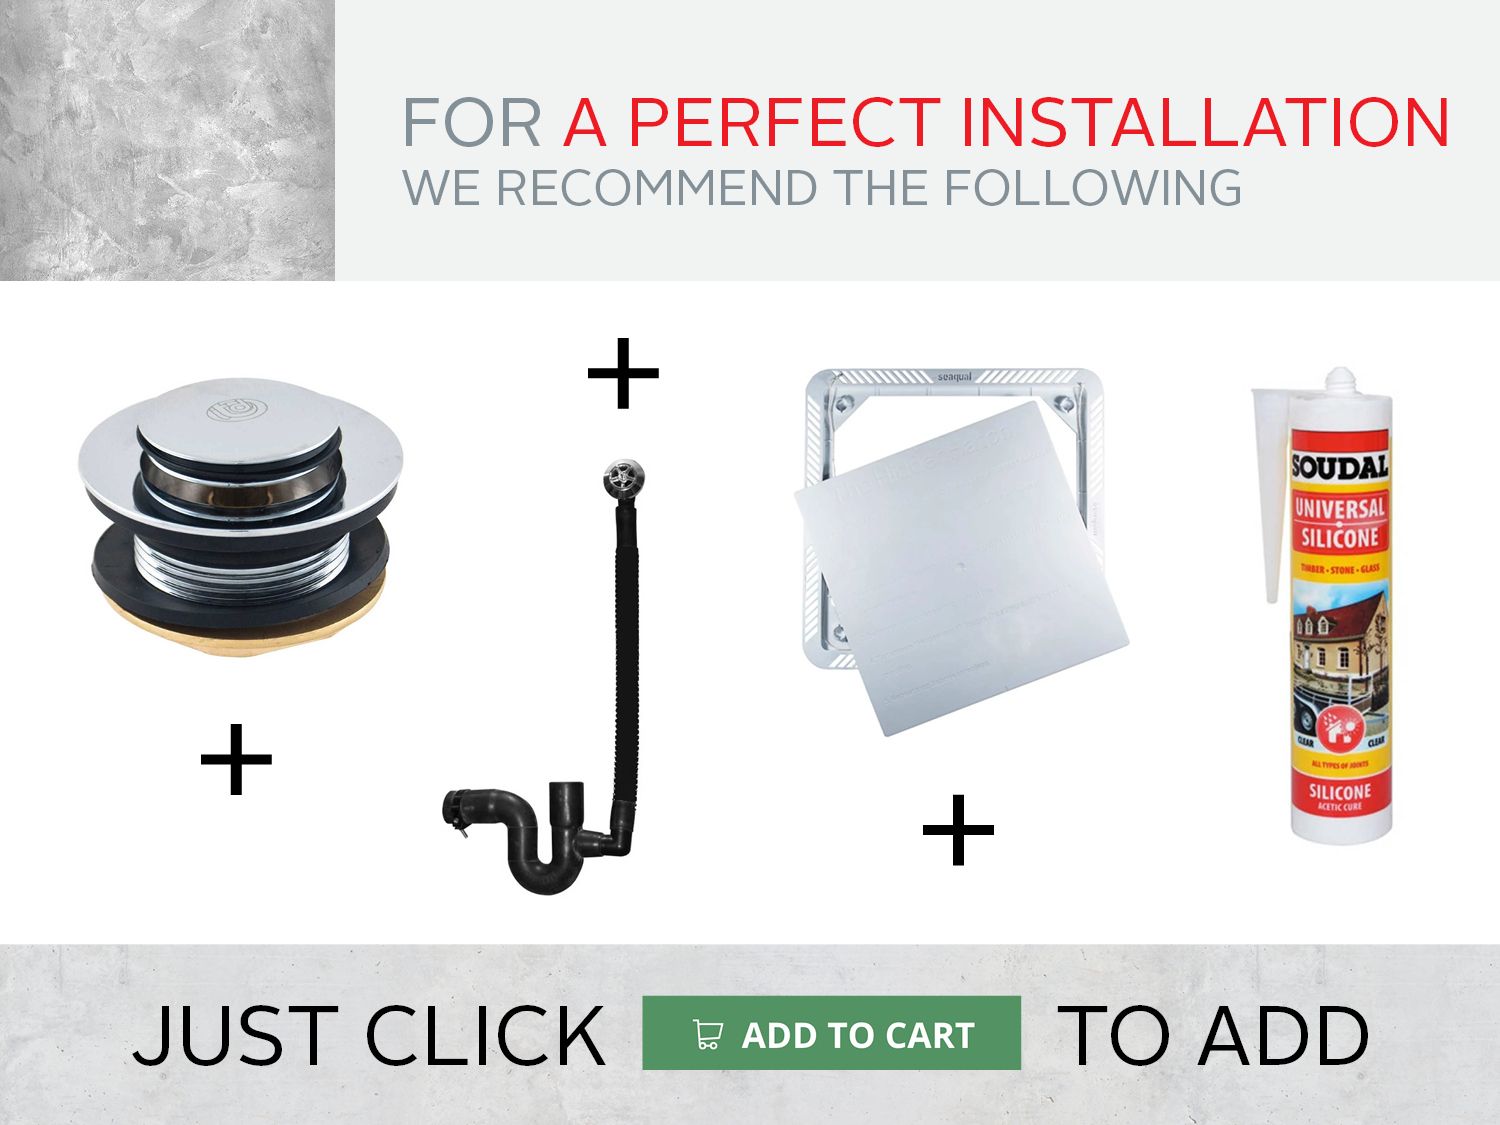
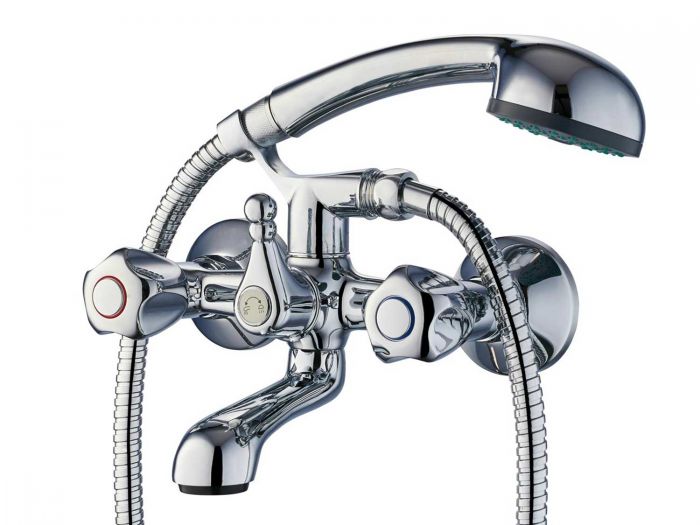
- Install taps and waste pipe and fittings, if you have not already done so.

Step 4.
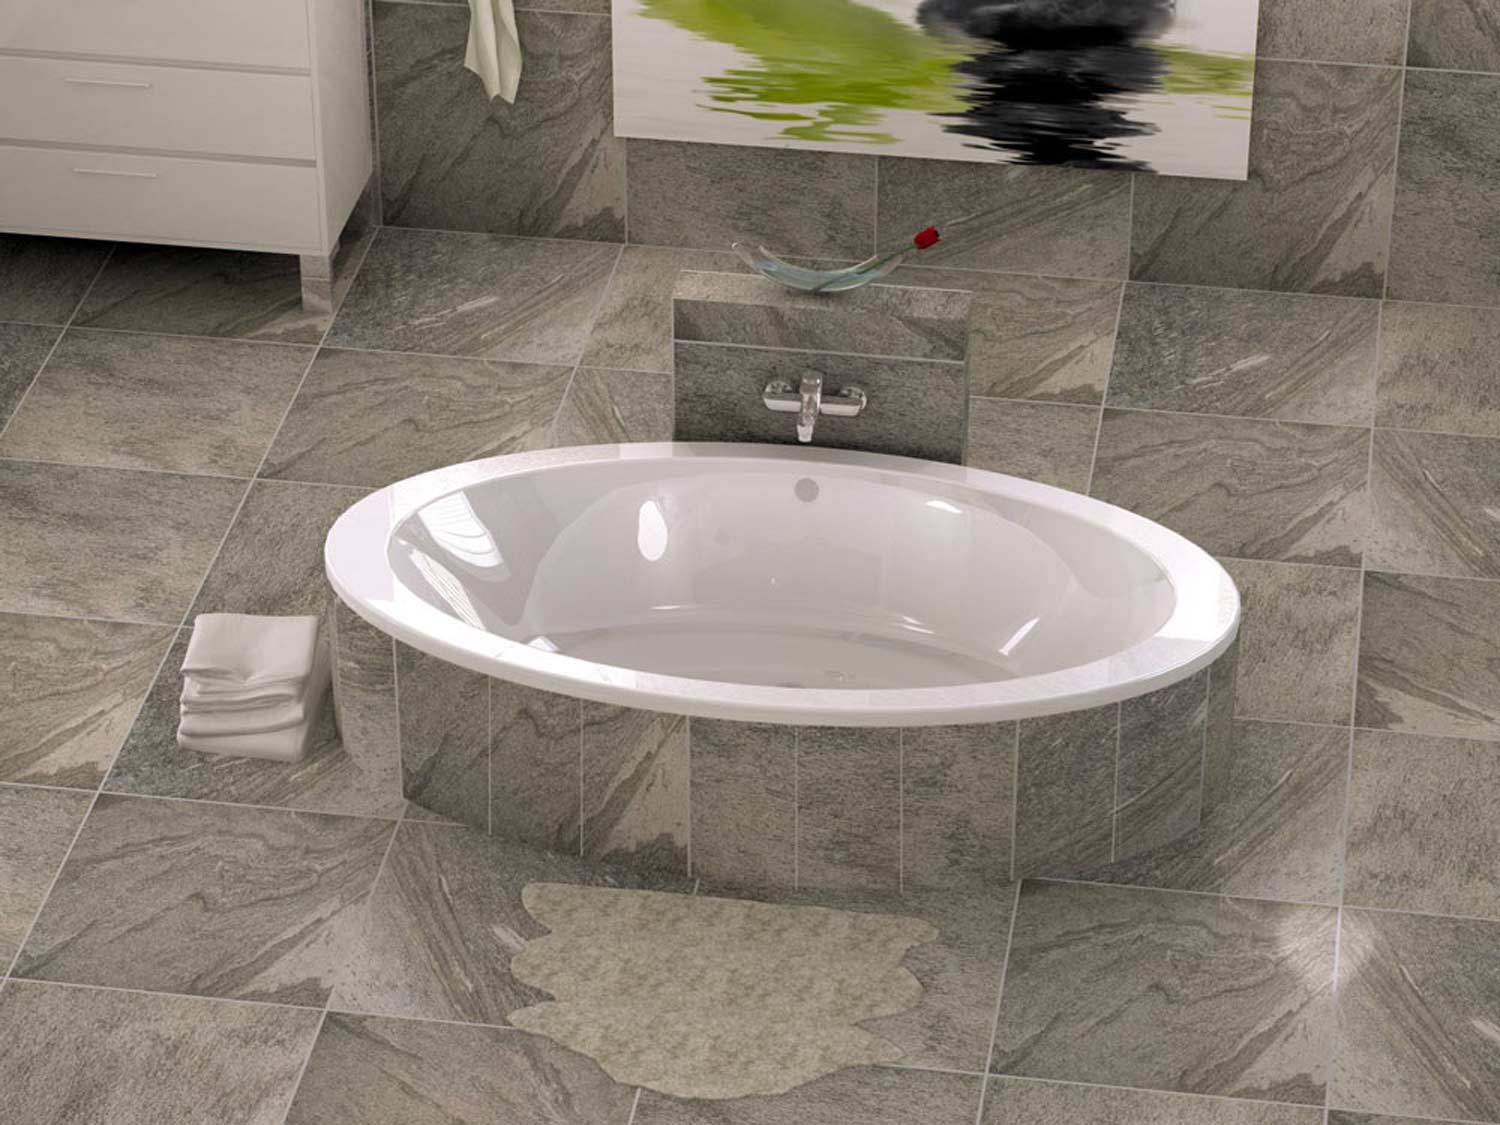
- Finish the frame.
- The outside of the frame is often tiled to create a cohesive bathroom design.
- Make sure to leave an access area if you are installing a whirlpool tub (for future repairs).
- You can finish the frame with any materials that work with your interior design.

Order Online & Collect In-store
Buy Online
Choose your nearest CTM store
Sit Back
We Source & Pack Your Stock
Collect
We notify you when your order is ready to collect
Buy Online
Choose your nearest CTM store
Sit Back
We Source & Pack Your Stock
Collect
We notify you when your order is ready to collect
Should the product not be available at the selected store, one of our product experts will contact you and offer you a reasonable alternative.